


Looking to elevate your home cinema setup? Properly mounting your projector can drastically improve image quality, comfort, and the overall immersive experience. Whether you’re installing your Vision Beam™ projector on the ceiling, wall, or simply setting it up on a tripod, this 2025 guide will walk you through everything you need — step by step.
No technical background needed. Just a few smart choices and the right accessories.
What You Need Before You Start
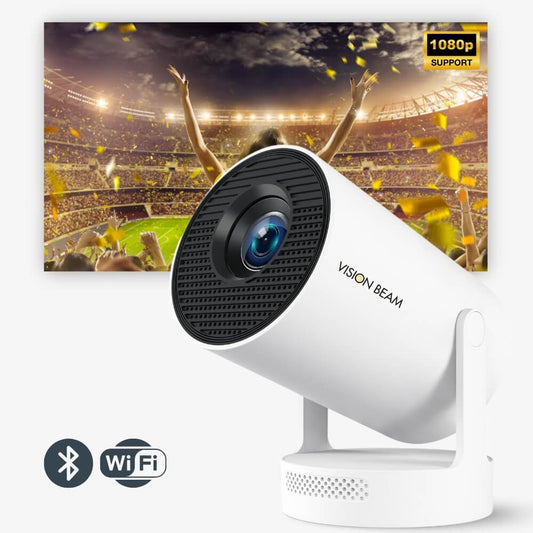
- Compatible projector: Vision Beam™, Pro, or Max
- Mounting accessory: Ceiling mount, wall bracket, or tripod
- Tools: Measuring tape, screwdriver, drill, wall anchors
- Distance calculator: Vision Beam throw ratio is 0.8:1 (short throw)
👉 Shop Mounting Accessories | See Vision Beam™ Max
Option 1: How to Mount a Projector to the Ceiling
- Choose placement: Centered to your screen, 1.5–2m from it.
- Use a universal ceiling mount: Adjustable arms recommended.
- Mark anchor points on ceiling using your mount plate as a guide.
- Drill holes and install anchors and screws.
- Attach projector to mount, align the angle, and tighten the bracket.
- Plug in power + HDMI or streaming stick.
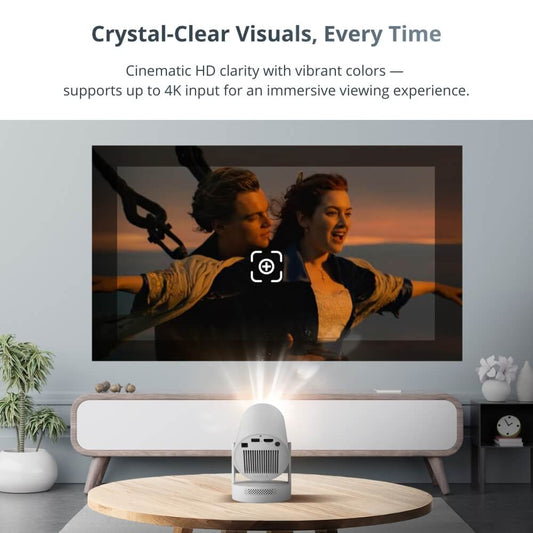
- Adjust focus & keystone for a clean image.
Option 2: How to Wall-Mount Your Projector
- Ideal for smaller rooms with low ceilings or clean walls.
- Use a wall bracket with angle adjustments.
- Mark and drill holes aligned with your screen center.
- Use anchors or stud screws for strong support.
- Install cable covers for a neat and modern look.
Tip: Wall-mounting works best with short-throw projectors like Vision Beam Max.
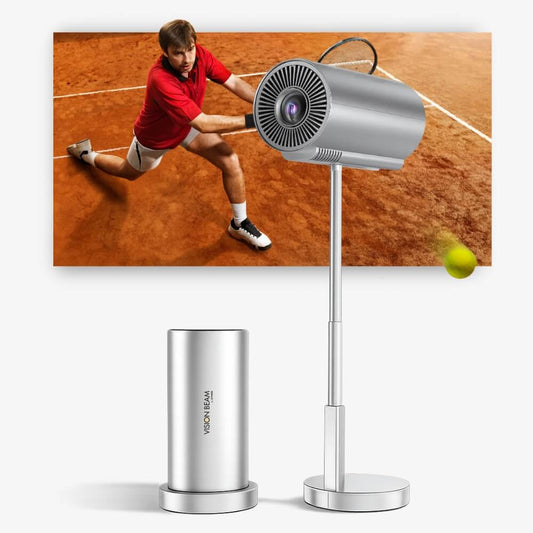
Option 3: Projector Tripod or Table Setup
This is the fastest and most flexible solution — no drilling required.
- Use a stable table or foldable projector tripod.
- Place your projector 1.5–2.5m from your screen.
- Ensure the projector is level and surface is vibration-free.
- Adjust angle, focus, and keystone as needed.
Perfect for: bedrooms, temporary setups, outdoor use, vanlife, and travel.
Common Mistakes to Avoid
- ❌ Mounting too far or too close (misaligned throw distance)
- ❌ Forgetting cable length or power outlet placement
- ❌ Ignoring ventilation around the projector
- ❌ Blocking the lens with decor or furniture
- ❌ Not using keystone correction when needed
Recommended Accessories for Easy Setup
- Ceiling Mount Kit – Vision Beam™
- Foldable Tripod Stand
- ViSound Pulse Speaker (great for ceiling setups)
Final Thoughts: Elevate Your Home Theater Setup
Installing your projector properly is one of the most powerful upgrades you can make to your home cinema. With just a few tools and the right accessories, you'll unlock a smoother, brighter, more immersive experience — whether you’re indoors or out.